
PowerPhotos Help
Allowing PowerPhotos access to your Photos libraries
Recent versions of macOS have added a number of permission prompts displayed to the user when apps access certain categories of data on your system. There are two such permissions that you will need to grant to PowerPhotos in order to work with your photo libraries.
Photo library access
If a third party app such as PowerPhotos wants to work with your photo libraries, the first time it attempts to do so you will be prompted to allow or deny PowerPhotos permission with a window that looks like this:
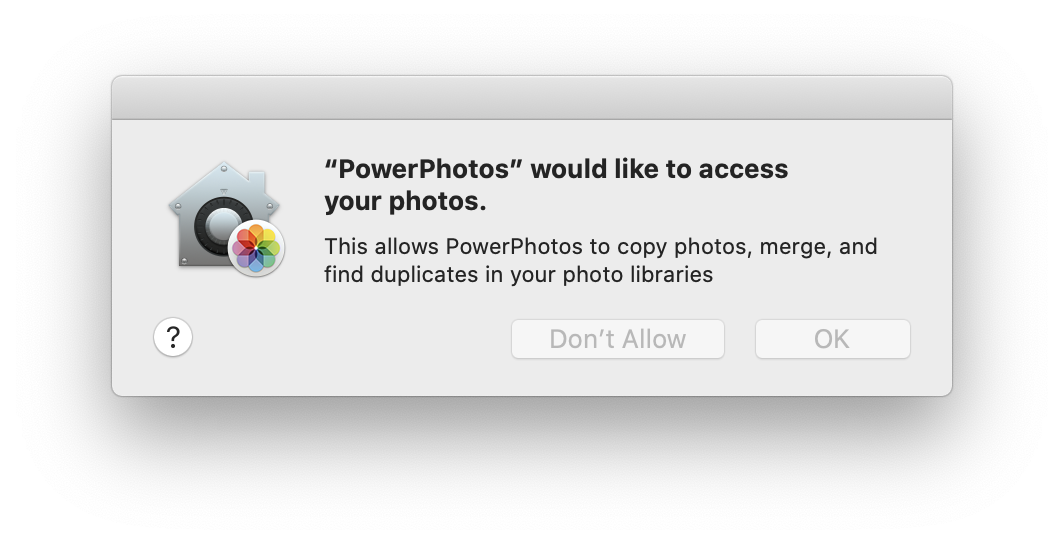
This prompt will only be displayed once, so if you clicked “Don’t Allow”, then when you attempt to view any of your libraries in PowerPhotos, you’ll receive an error message saying “Photos access not authorized”. If you see such a message, you’ll need to go into System Settings and manually give PowerPhotos permission to access your photo libraries.
“Data from other apps”
When running on macOS Sonoma and later, an additional prompt is put up when any third party app tries to read data belonging to another app. In the case of PowerPhotos, it needs to read preference settings from Photos in order to determine which library was last opened, which library is the current system library, and whether iCloud Photos is enabled. This will trigger a prompt that looks like this:
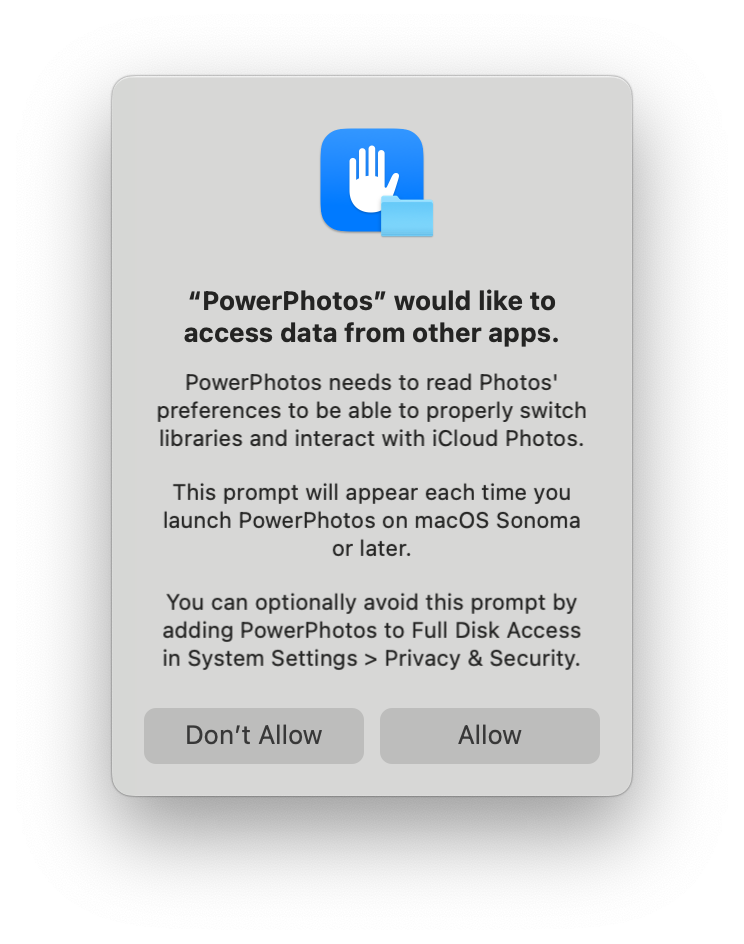
Unlike the photo library prompt, macOS insists on showing this prompt every time you launch PowerPhotos. If you use PowerPhoto often and this gets annoying, you can optionally grant PowerPhotos full disk access to prevent this prompt from coming up any more.
Changing photo library access permissions manually
macOS Monterey and earlier
- Go to the Apple menu in the upper left corner of the screen and select “System Preferences”.
- Click the “Security & Privacy” icon in the System Preferences window that appears.
- Click the “Privacy” tab.
- Scroll down the list on the left and click “Photos”.
- Look for PowerPhotos in the app list and make sure the checkbox next to its name is checked.
- Quit and reopen PowerPhotos for the changes to take effect.
macOS Ventura and later
- Go to the Apple menu in the upper left corner of the screen and select “System Settings”.
- Click the “Privacy & Security” icon in the list on the left.
- Scroll down the list on the left and click “Photos”.
- Look for PowerPhotos in the app list and make sure it says “Full Access” underneath. If it doesn’t, use the toggle on the right to enable full access.
- Quit and reopen PowerPhotos for the changes to take effect.
In some cases, the system interface for this can be outright buggy, and will not actually let you toggle the setting successfully. In this case, you can instead reset PowerPhotos access permissions from the terminal. To do that:
- First, make sure to quit PowerPhotos if it is open
- Open the Terminal application, which is located in the Utilities folder in your main Applications folder
- Copy and paste the following command into the terminal window, then press return to execute it:
tccutil reset Photos com.fatcatsoftware.PowerPhotos
Open PowerPhotos again, and it should give you that prompt to access to your Photos library again so you can click “Allow” there.